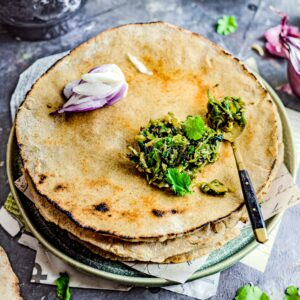
Jwarichi Bhakri
Jwarichi bhakri (jowar roti) is an Indian gluten free flatbread made from sorghum flour. It's nutty, filling, and yummy with authentic sides.
Ingredients
- 250 ml water
- ¼ teaspoon salt
- ½ teaspoon oil neutral
- 240 g sorghum flour jowar atta
- 2 tablespoons water*
Instructions
- Boil 250 ml water in a large saucepan over medium flame. Once it comes to a boil, add ¼ teaspoon salt and ½ teaspoon oil. Give it a quick mix, then add 240 g sorghum flour. Use a wooden spoon to stir the flour in. Immediately shut the heat, cover, and steam for around 10 minutes.
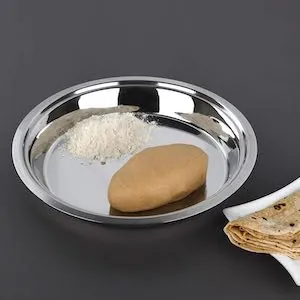
- Once rested, knead the dough. Tip the mixture into a parat (Indian flat mixing bowl). If it's still hot, use a spoon to further mix the flour and water. Once it's warm enough to handle, use your hands to begin kneading. At first, the dough may be sticky and pasty, but continue kneading without adding more flour, until you achieve a smooth texture. Depending on the brand and quality of your sorghum flour, plus its age, you may need to add more water. I did add 2 tablespoons water*. Add a tablespoon at a time until you achieve the required consistency.
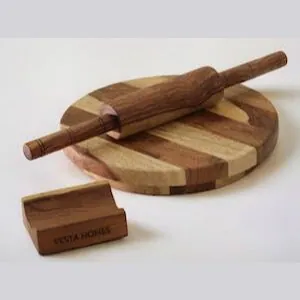
- Separate the dough into 5 or 6 (depending on the size of your tawa) pieces and roll into balls. Take one ball onto a rolling board. Cover the remaining with damp cotton to prevent drying out.
- Cover the rolling board with sorghum flour. Carefully flatten the ball using the palm of your hand, then dust the flattened ball with more flour. Begin to shape the bhakri by pressing with the palm of your hand and simultaneously rotating the dough. You can use the fingers of your other hand to avoid the edges to maintain a more round shape. This takes practice, so take it slow.
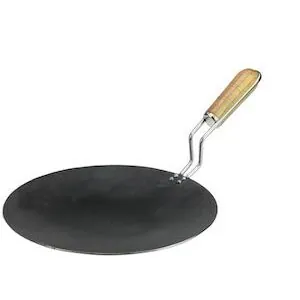
- Heat a tawa over medium heat. Carefully lift the bhakri and place it on the tawa (don't slap it onto the tawa as you would ordinary chapatis).
- Immediately spread water on the top layer of the bhakri.
- Cook the jwarichi bhakri until the water on the top half dries. Carefully flip the bhakri using a spatula, then cook the other side until it develops brown spots.
- Puff the bhakri on the open flame using tongs — or on the tawa itself, by pressing on its surface with a chapati press.
- Remove the bhakri from the tawa and immediately spread oil on the surface. Cover the bhakri in a chapati warmer (or something similar). Repeat the process with the remaining dough.
Notes
* You may have to add more or less water, depending on the quality of your sorghum flour. Use this amount as a guide, not a strict instruction.
Nutrition
Calories: 177kcalCarbohydrates: 37gProtein: 4gFat: 2gSaturated Fat: 0.3gPolyunsaturated Fat: 1gMonounsaturated Fat: 1gTrans Fat: 0.002gSodium: 123mgPotassium: 149mgFiber: 3gSugar: 1gCalcium: 8mgIron: 1mg
Tried this recipe?Please consider leaving a review!


