How to Grow Methi (Fenugreek) from Seed
Fenugreek – also known as Methi across India – is a popular spice and herb known for its sweet and nutty flavor. Sought-after across South and East Asia, both the seeds and the leaves are edible with each imparting its own distinct flavor to dishes.
You may not be able to access fresh fenugreek for a specific recipe and give up on making that dish. Don’t! Fenugreek is so incredibly easy to grow even without a garden that you’ll find yourself with a fresh supply for any recipes you want to try out.
Growing your own food can seem unachievable. But fenugreek takes up so little space it’s ideal – and it tastes fantastic!
What is Fenugreek?
Fenugreek is a tender annual that grows to a large height from large brown seeds. Although it’s a relatively uncommon crop in the West, it has been grown in North Africa and South Asia for centuries. It has a nutty flavour which is often compared to maple syrup, and a slight bitterness which is mellowed through cooking. Both the seeds and the leaves (fresh and dry) are edible and used in a variety of dishes. There is often some confusion between the different types:
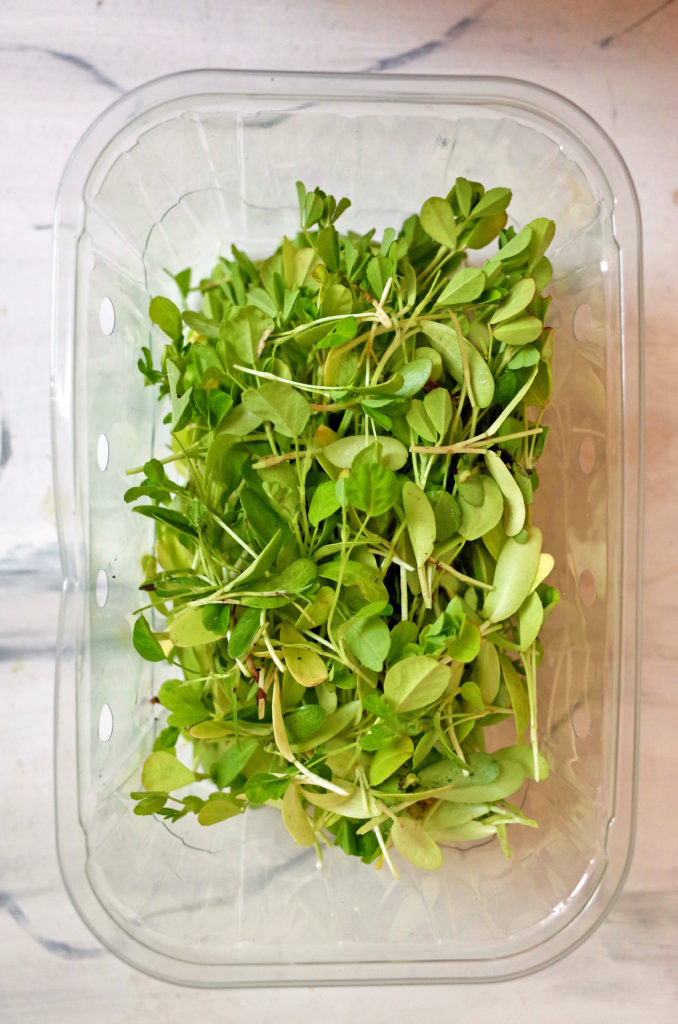
- Fresh Fenugreek Leaves are known as Methi (in Hindi).
- Dried Fenugreek Leaves are known as Kasuri Methi.
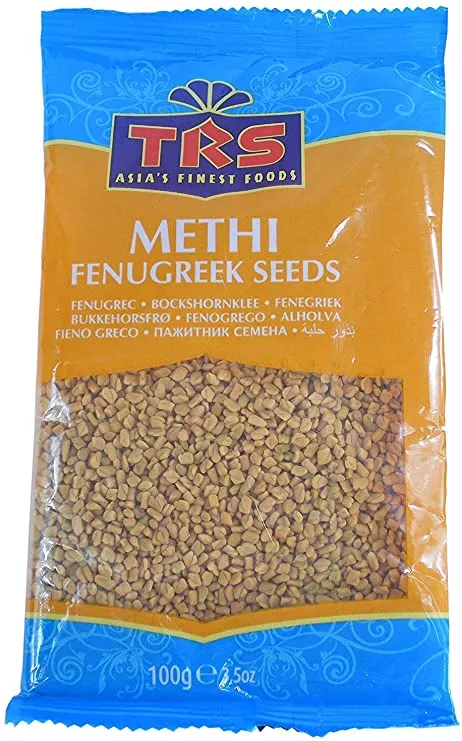
- Fenugreek Seeds are known as Methi Dana.
Are can read more about how to cook with fenugreek below.
In Ancient Greece, Roman, Egypt and India, fenugreek was regularly used to treat illnesses and improve general health. Studies conducted in the modern day have been few and far between, with most using study groups too small to garner conclusive results.
How to Grow Fenugreek?
How to Grow Methi (Fenugreek) from Seed
Learn how to grow fresh Fenugreek from seed - easily and on a budget.
Materials
Instructions
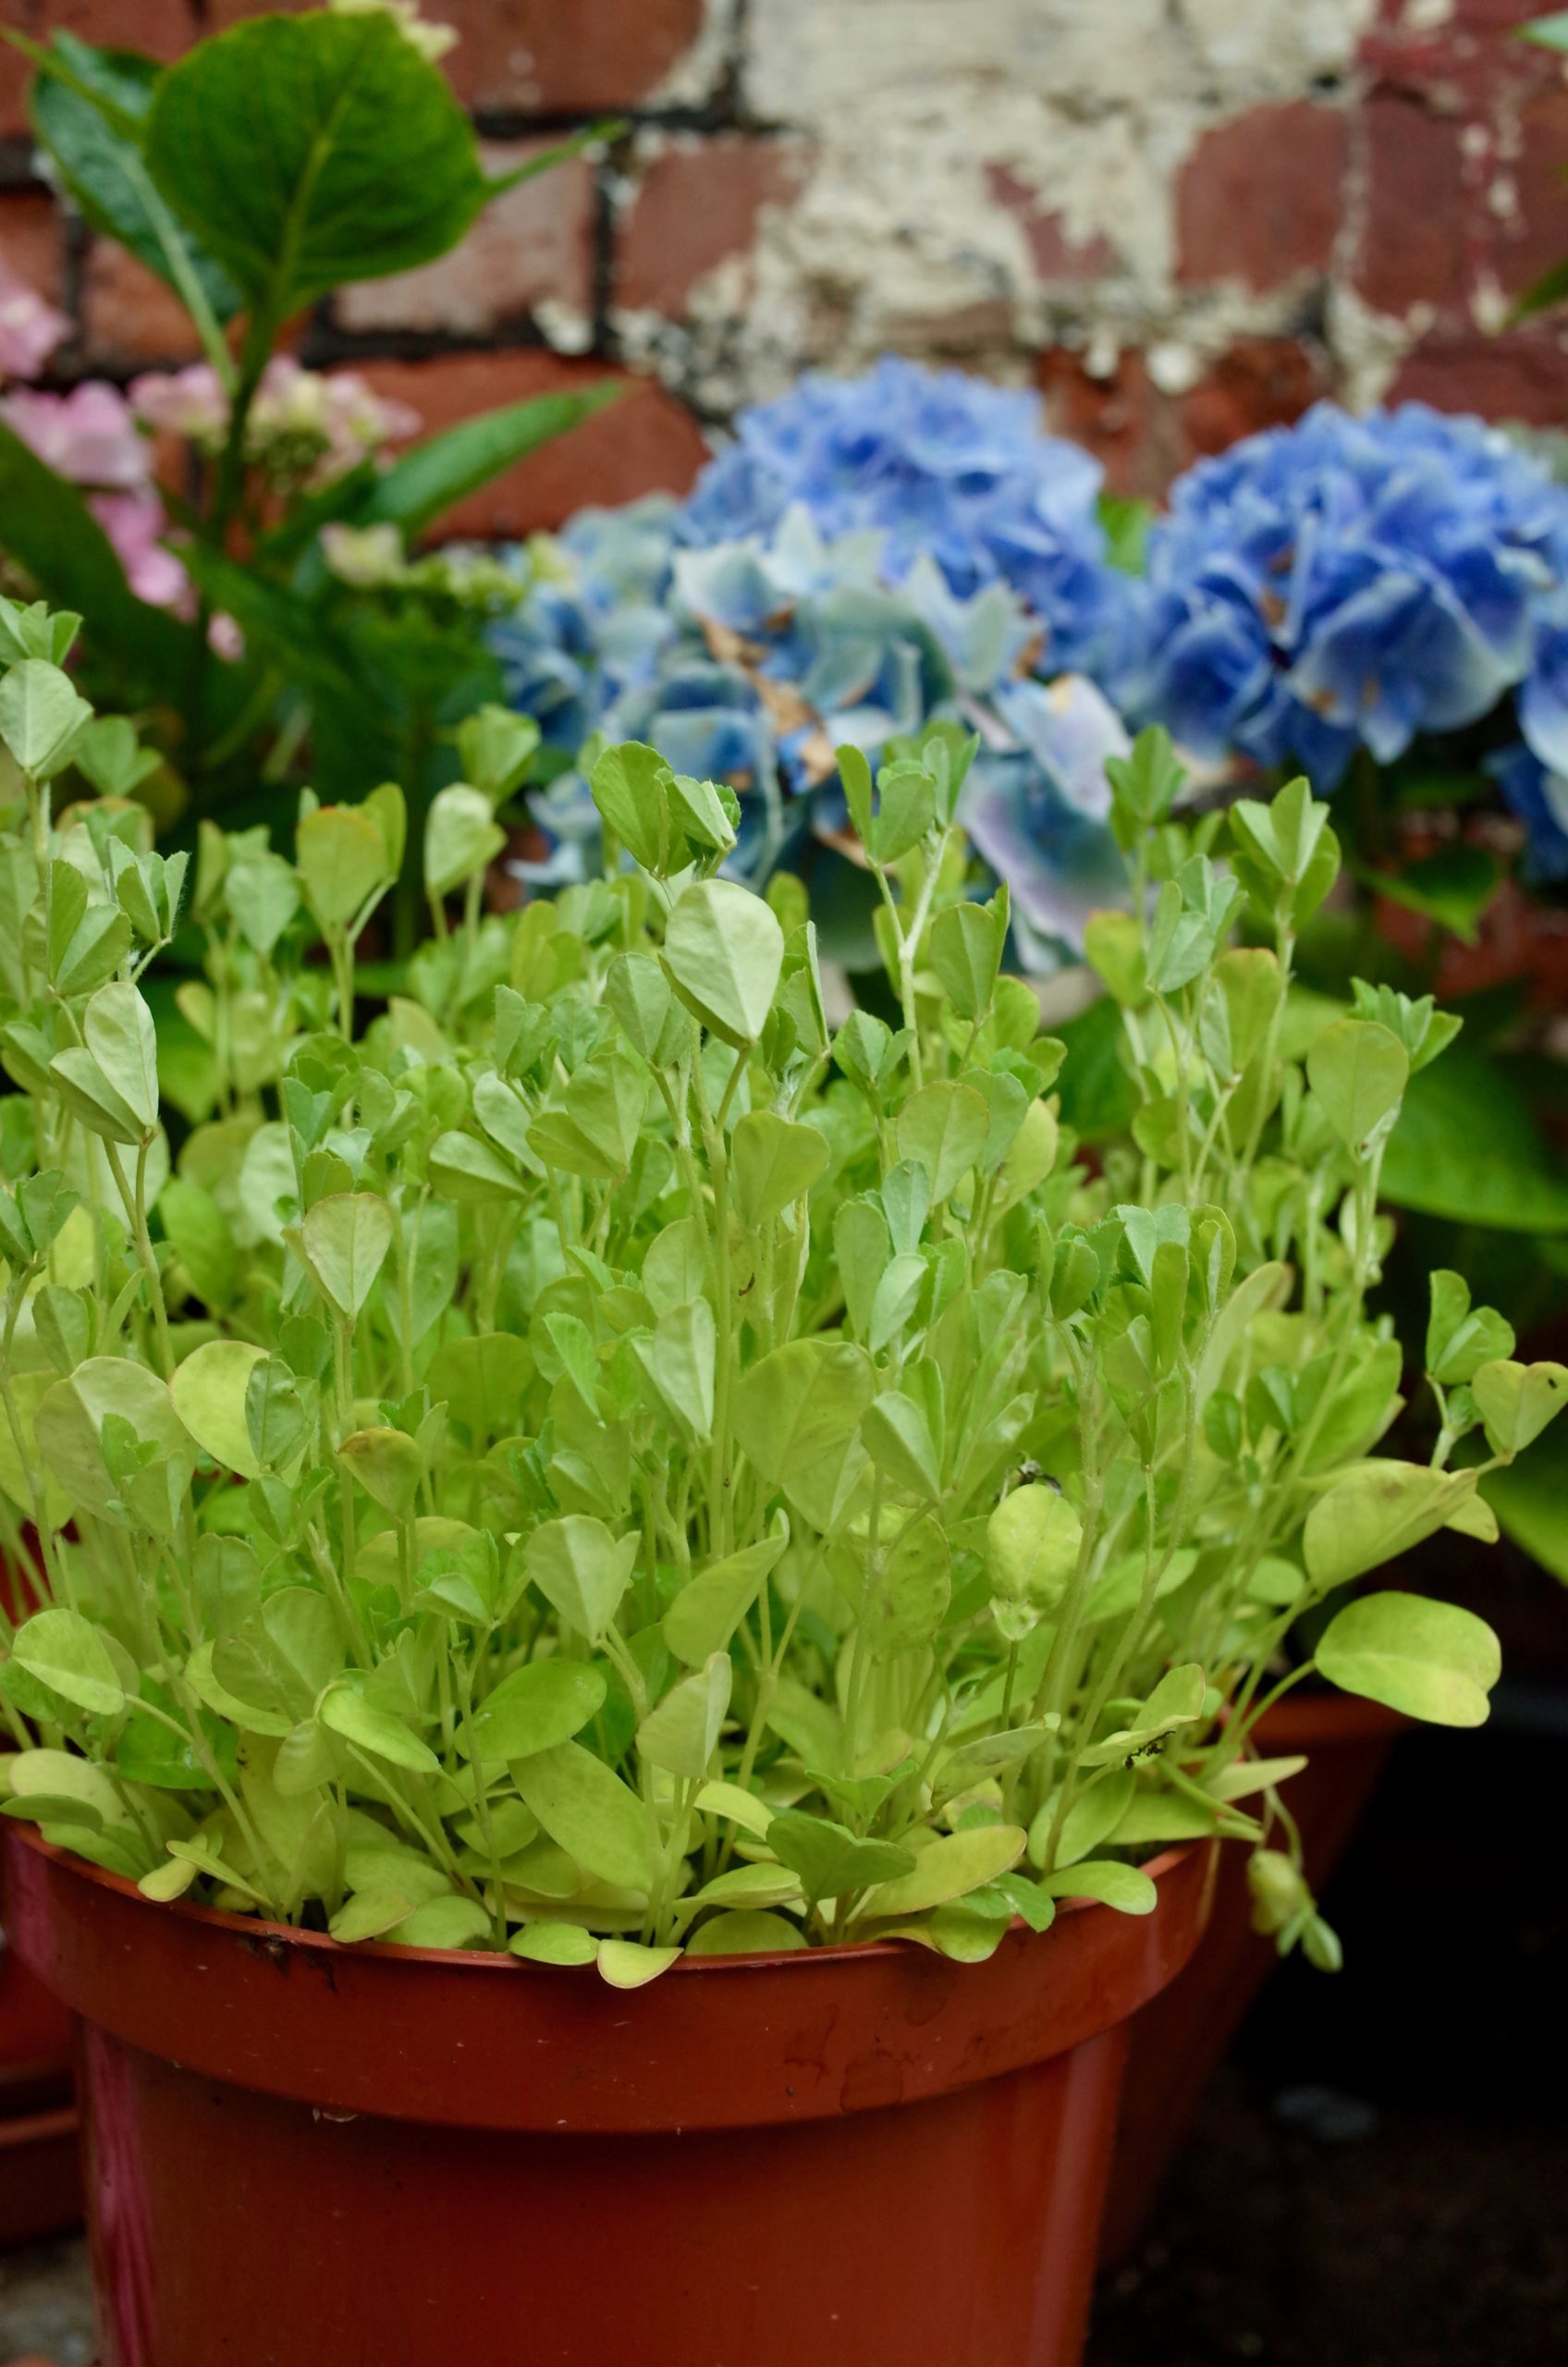
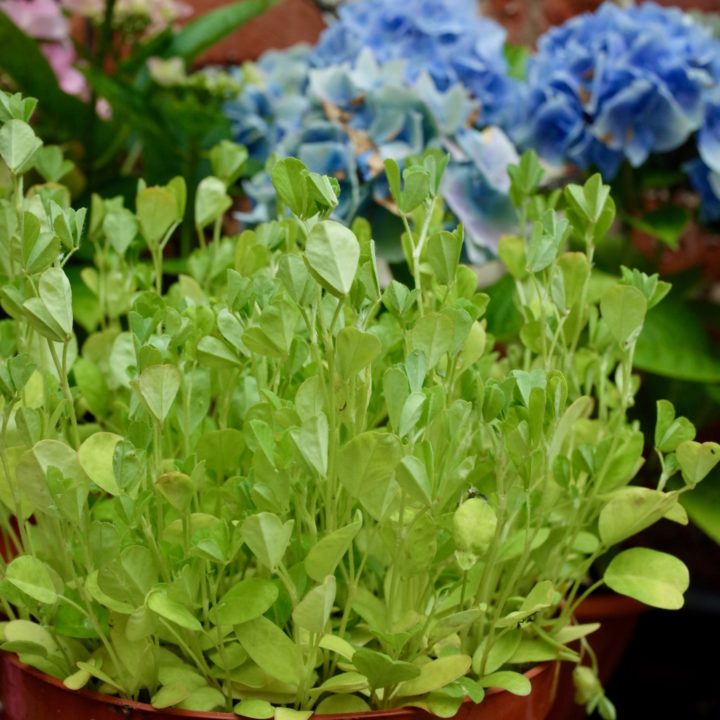
Fenugreek is an ideal container plant. It has shallow roots and therefore doesn’t require much room to grow. Ideally, use a wide, shallow container. If you wish you can also grow it as ground cover when planted into the ground. The plants don’t like to be transplanted (moved) once sown, so sow them into their final position rather than using seed trays and transplanting.
- Plant at the right time. Sow fenugreek after the last chance of frost has passed. This depends on your location. You will find resources online to check the last frost in your area - this will give you an idea of ideal planting times.
- Sow the seeds at just 1/4 inch deep in your soil. Make sure to choose a position in your garden that gets full sun or if growing inside, choose a sunny windowsill. Within just 1 or 2 days you should begin to see sprouts which will quickly grow their first leaves. From then onwards growth will be steady.
- Water lightly everyday when sunny and dry, but don't allow the soil to become waterlogged. Ensure your container has good drainage for the best results.
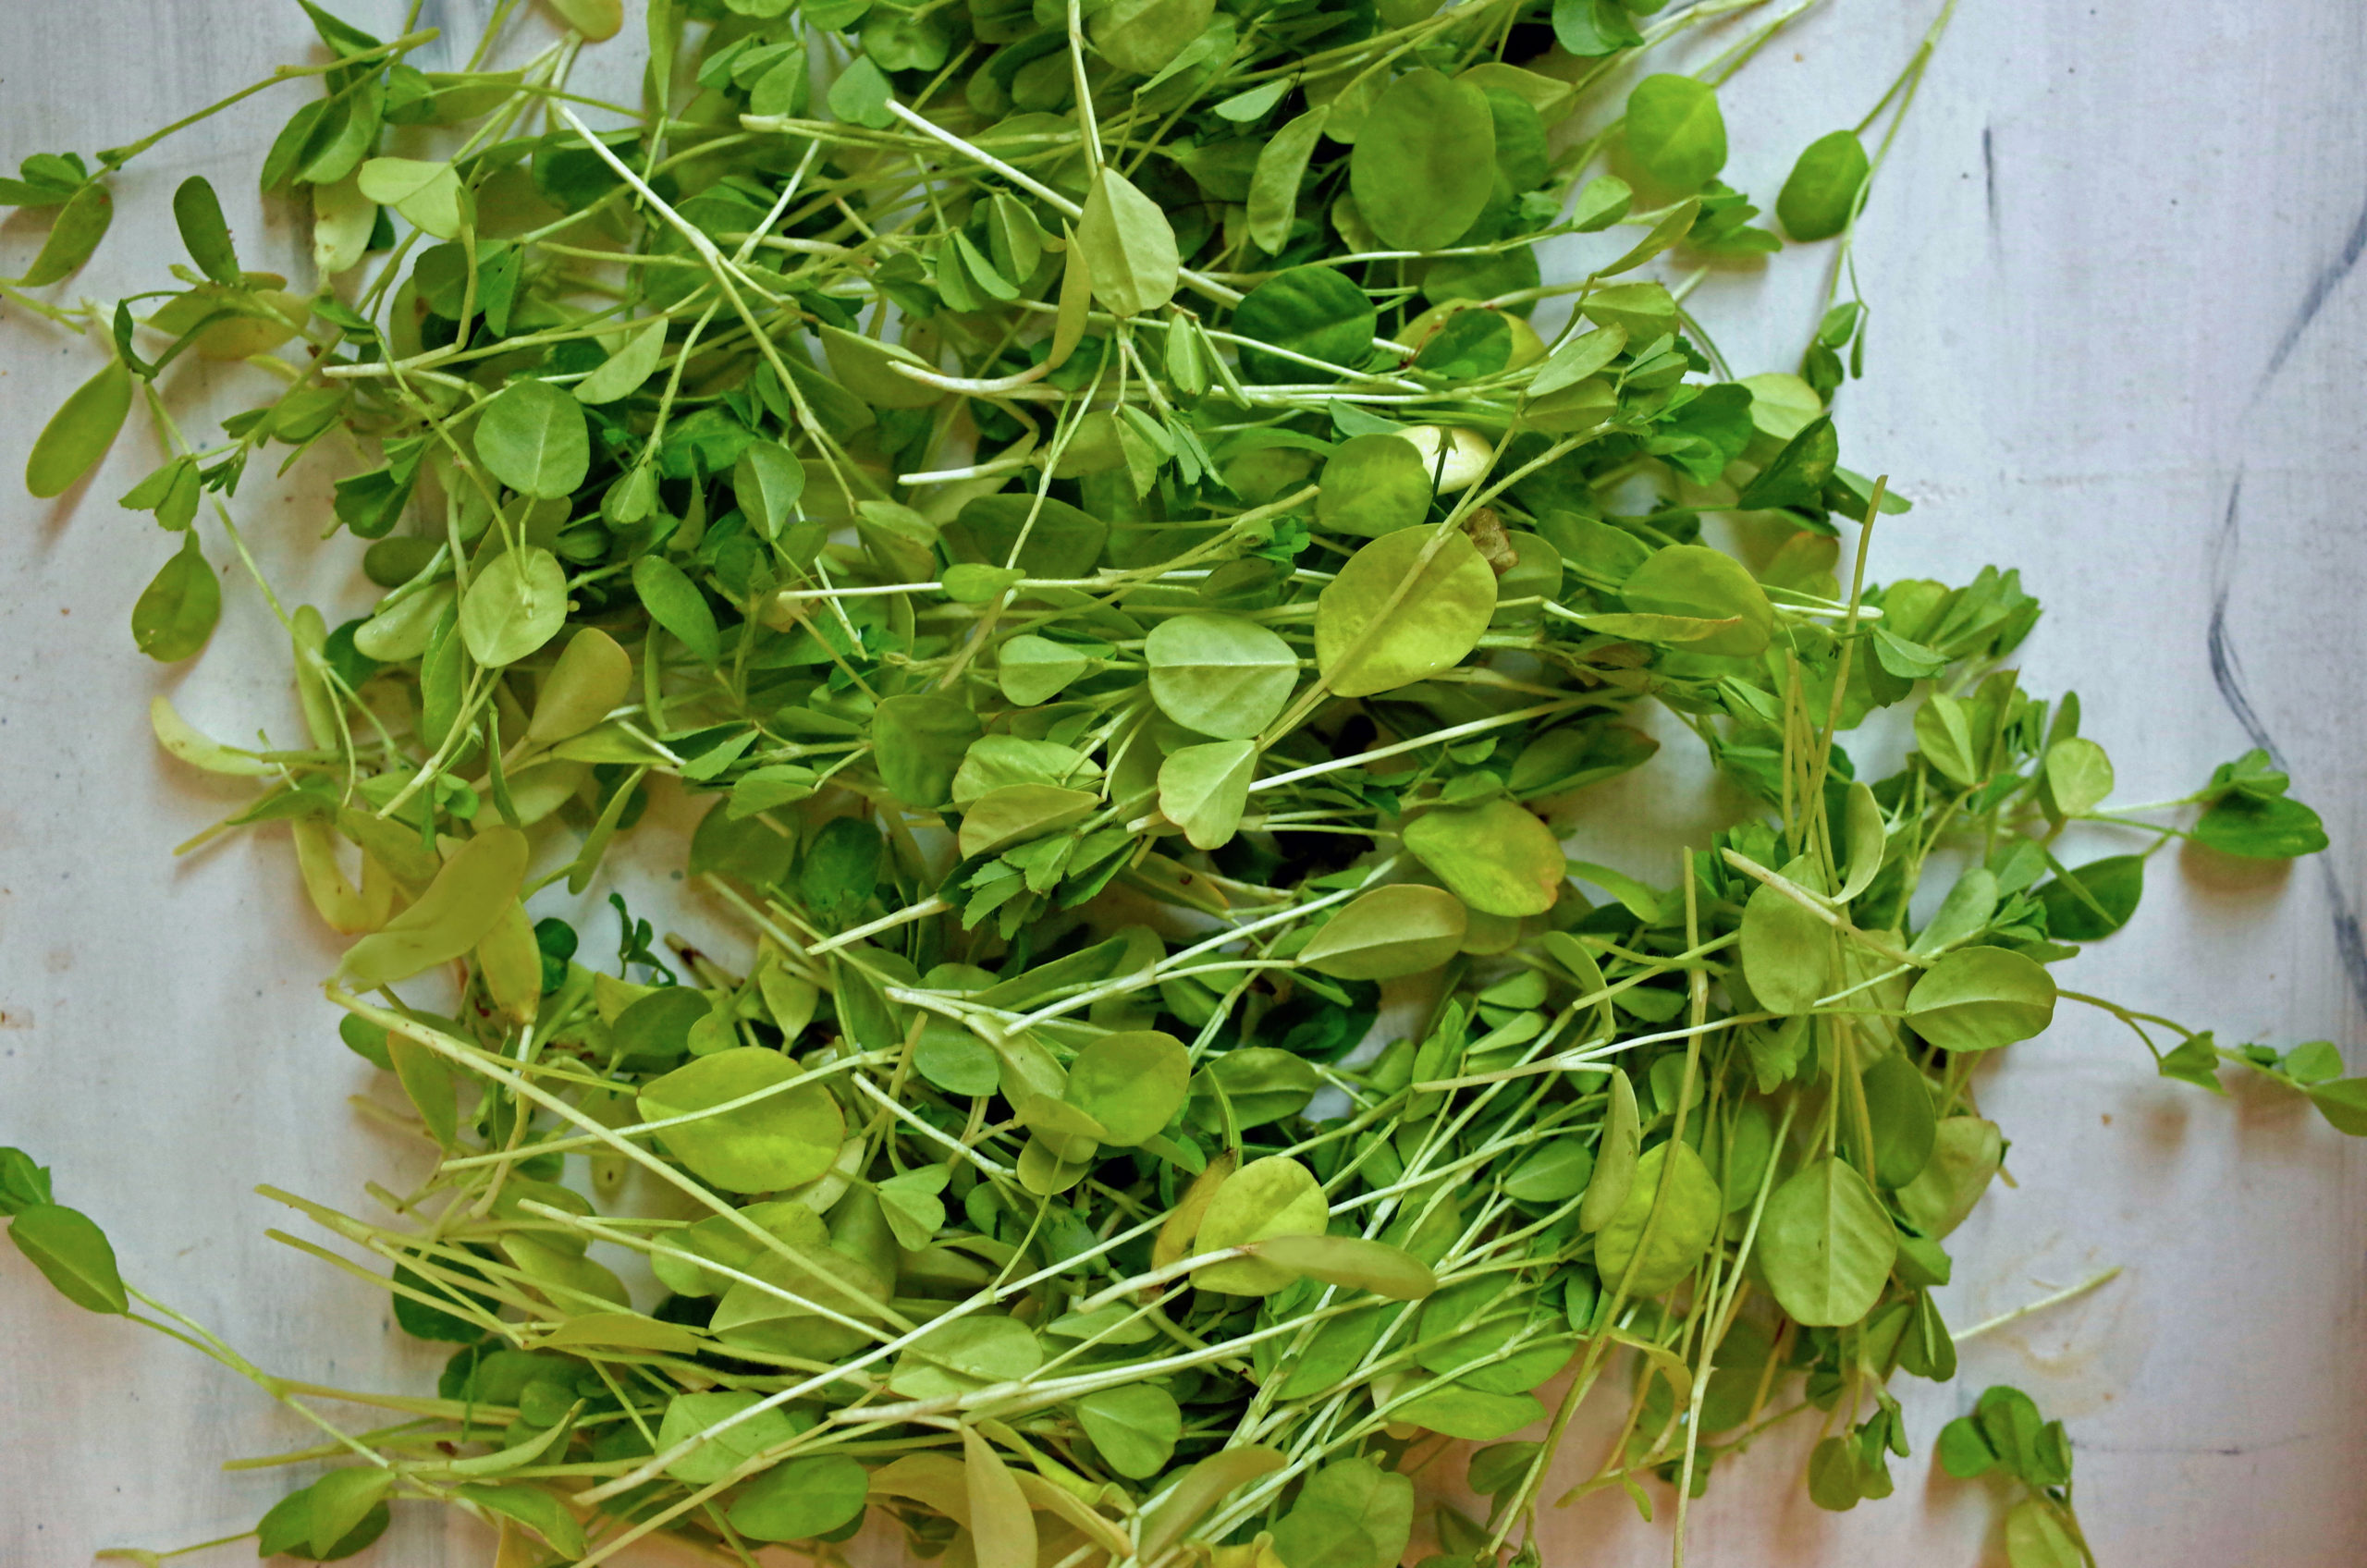
- After one month, harvest. Although timings can vary slightly, generally after around a month your fenugreek plant will be ready for its first harvest. Carefully cut around 2/3s of each stem, leaving the rest to regrow. Learn how about how to prepare this harvest for cooking down below.
- Your fenugreek plant will give you several harvests. After this, the plant will begin to grow flowers. Let the plant go to seed if you wish so that you can use the seeds for cooking or planting more fenugreek next year!
Notes
To increase rates of germination (sprouting), you can pre-soak your seeds in water for 1 day before planting. This is usually not necessary and is an optional step.
Recommended Products
As an Amazon Associate and member of other affiliate programs, I earn from qualifying purchases.


How to make Kasuri Methi (Dried Fenugreek)?
To make kasuri methi (dried fenugreek leaves), tie a bunch of fenugreek together and hang it somewhere warm until it thoroughly dries. You can also strip the leaves from the steam, spread them on a plate and sun-dry in a warm place. These methods will take around 48 hours depending on temperature of your home.
Alternatively, you make kasuri methi in the microwave. Strip the leaves from the steam, wash them thoroughly and pat dry before spreading evenly across a microwave safe plate. Set the timer to 3 minutes on maximum temperature, and then carefully turn the methi over and set the timer to another 3 minutes. Do keep an eye on it as microwave timings can vary. If it’s not completely dry, change the temperature to medium and set the timer for another 3 minutes.
Kasuri Methi will stay fresh for an indefinite amount of time if dried properly. Store in an airtight container in a dark place away from sunlight.
How to Cook with Fenugreek?
To cook with the fresh leaves, begin by stripping the leaves from the stem. Unlike with other herbs like coriander, this is essential as the stalk gives an unpleasant taste. Thoroughly wash the leaves several times. To decrease any chance of bitterness you can soak the leaves in salted water before using. The leaves are suitable for refrigeration once thoroughly dried and then kept in a small, air-tight container. They should be used within 4 days. You can also freeze fresh leaves and use them when required.
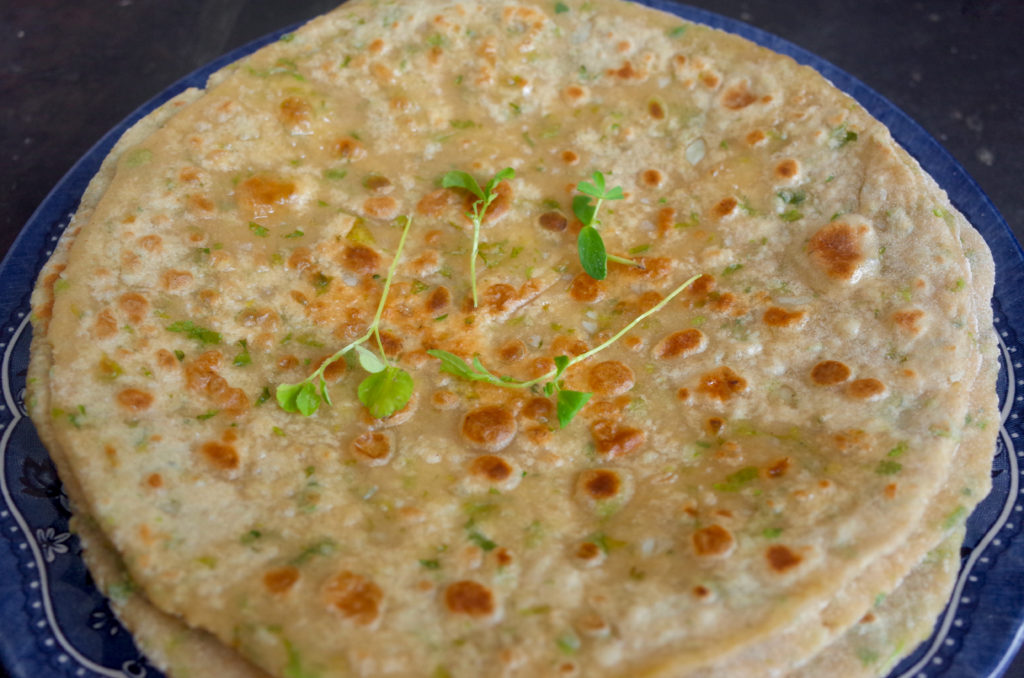
Some popular Indian recipes for fresh fenugreek are Aloo Methi, Methi Parathas, Methi Pakora, Methi Paneer, Methi Chole, Methi Dal, Methi Puri, and Methi Muthia (steamed dumplings). You can also use fresh fenugreek when making Saag.
How to Use Kasuri Methi in Cooking? (Dried Fenugreek Leaves)
Simply add it near the end of your cooking. No need to soak it first – simply rub it between your palms and sprinkle over the dish. Use sparingly, as according to the recipe.
Some wonderful recipes which frequently use kasuri methi are Kadai Paneer, Dum Aloo, Dal Tadka, Paneer Tikka Masala, amongst others. It adds an irresistible smokey taste to any dish.
How to Use Fenugreek Seeds in Cooking?
There are two options you can take: You use them whole but slightly crushed, or you can use them powdered. If using them whole, crush them gently with a mortar and pestle and add at the beginning of recipes at the same time as your other whole spices (like cumin and mustard seeds). They will quickly become pungent and fragrant, but be careful not to burn them or they will become overpoweringly bitter.
Recipes that make use of whole fenugreek seeds are Samosas, traditional Punjabi Samosa, Sambar, Achari Paneer, and various pickles. They are also used in traditional spice mixes such as Garam Masala, Panchporan, and Sambar powder.
To grind your own fenugreek powder, start by dry-roasting the seeds. This means adding them to a frying pan over low-medium heat without any oil. Toss the seeds or stir frequently to prevent uneven browning. For a mild taste, roast them until just lightly changed in colour, and for a deeper, more bitter roast, roast until they’re a darker brown. Turn off the heat and cool to room temperature before grinding in a spice grinder to a fine powder. Fenugreek powder can then be used like any other spice powder in a dish.
How to Sprout Fenugreek Seeds?
Simply add them to a bowl, cover completely with water, add a plate on top and soak for one day. After soaking, drain the seeds and tie them in a fine muslin cloth, before adding to a bowl and covering once again with a plate. Check on them every day and within 4-5 days they will have sprouted. Store the sprouts refrigerated in an airtight container and wash before use. You can mix these with other sprouts such as moong and moth sprouts to make a healthy salad.
I’ve written a whole post about how to sprout seeds and beans here.